This is also based on an image from Electric Sheep.
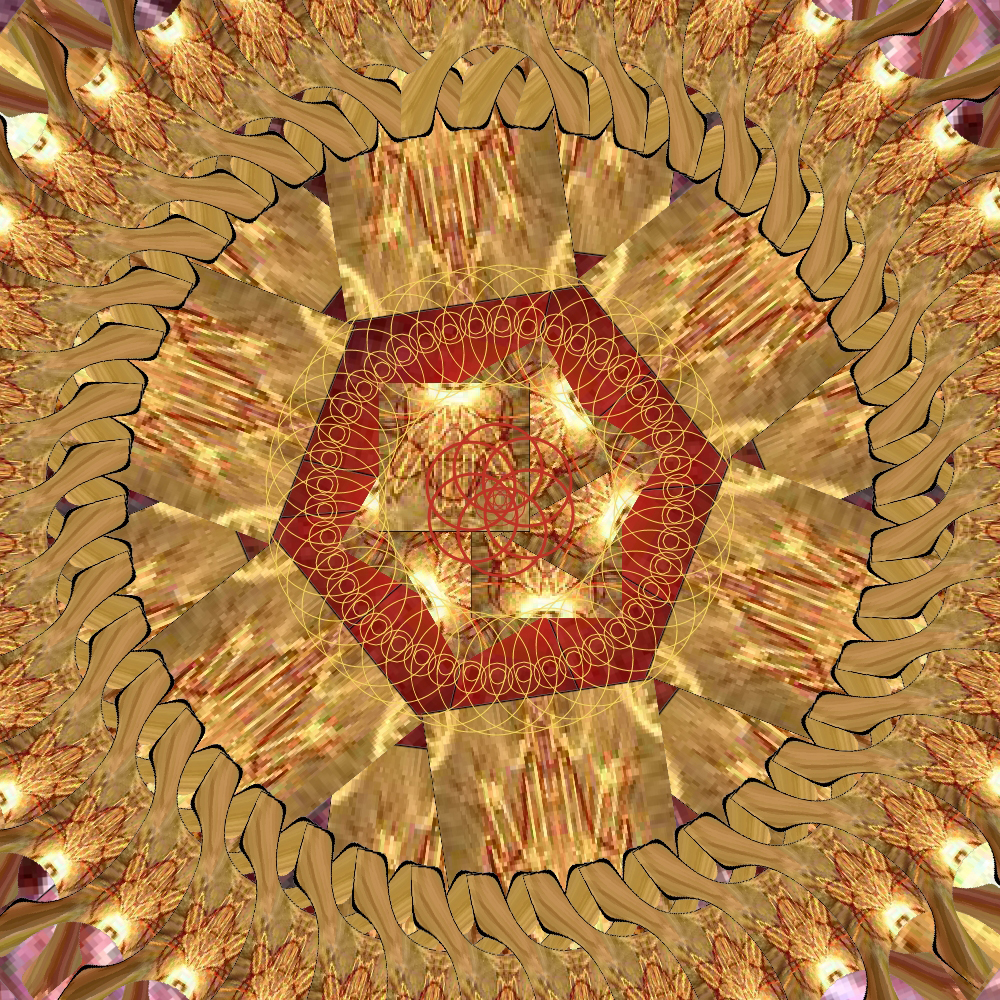
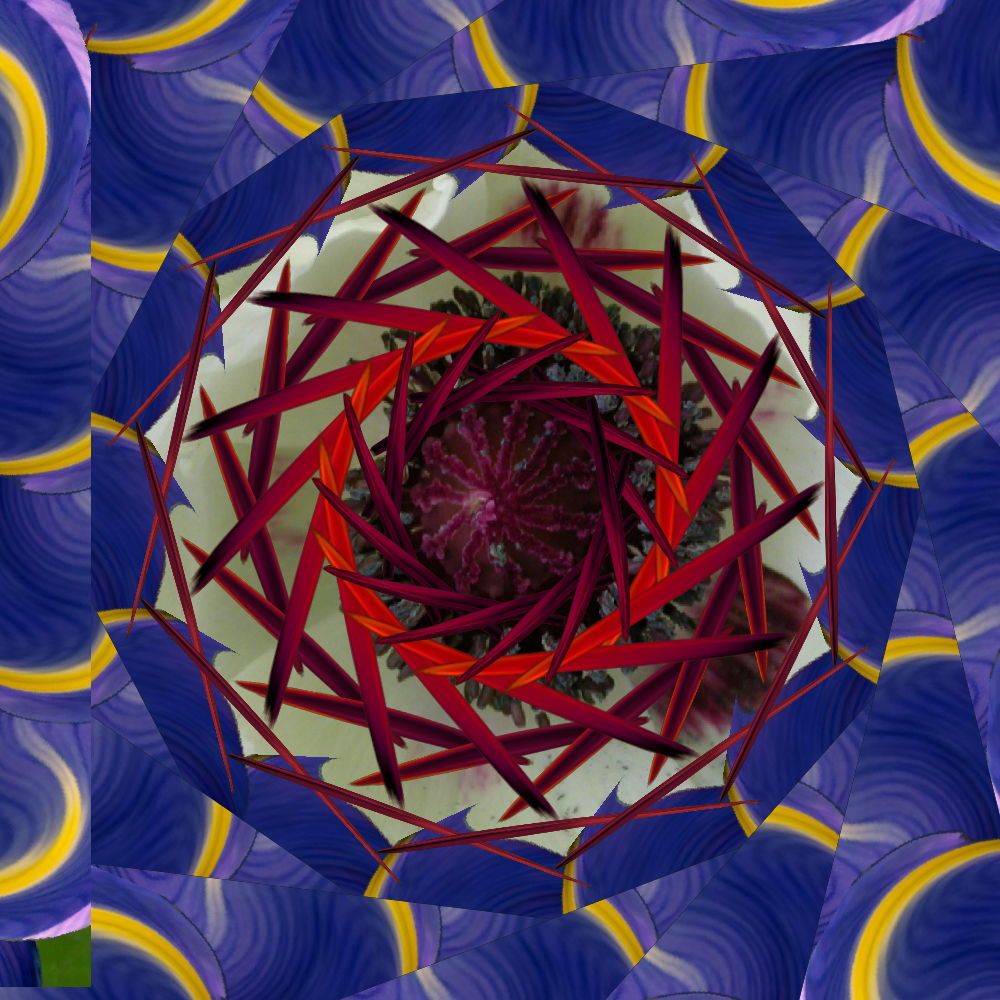
The interesting, 3D looking gold bits around the outer ring are produced by using the "concavity" effect. This is one of the few mandalas that I made with any lines in it - the interweaving circles in the center are also produced by the program.
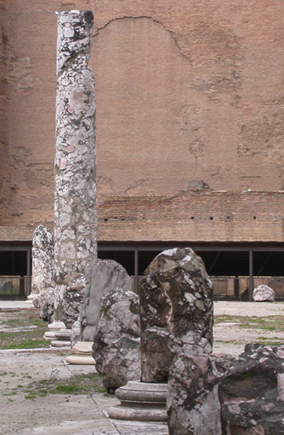
The work around? I found a photo which did not have this problem, pasted my clip into that photo, re-selected it, re-copied it, and then pasted it into Mandala Painter. Viola! BLECH. What an ugly hack! Many of my photos from Italy seemed to be afflicted with this problem, so this was the only mandala I bothered making from those photos.
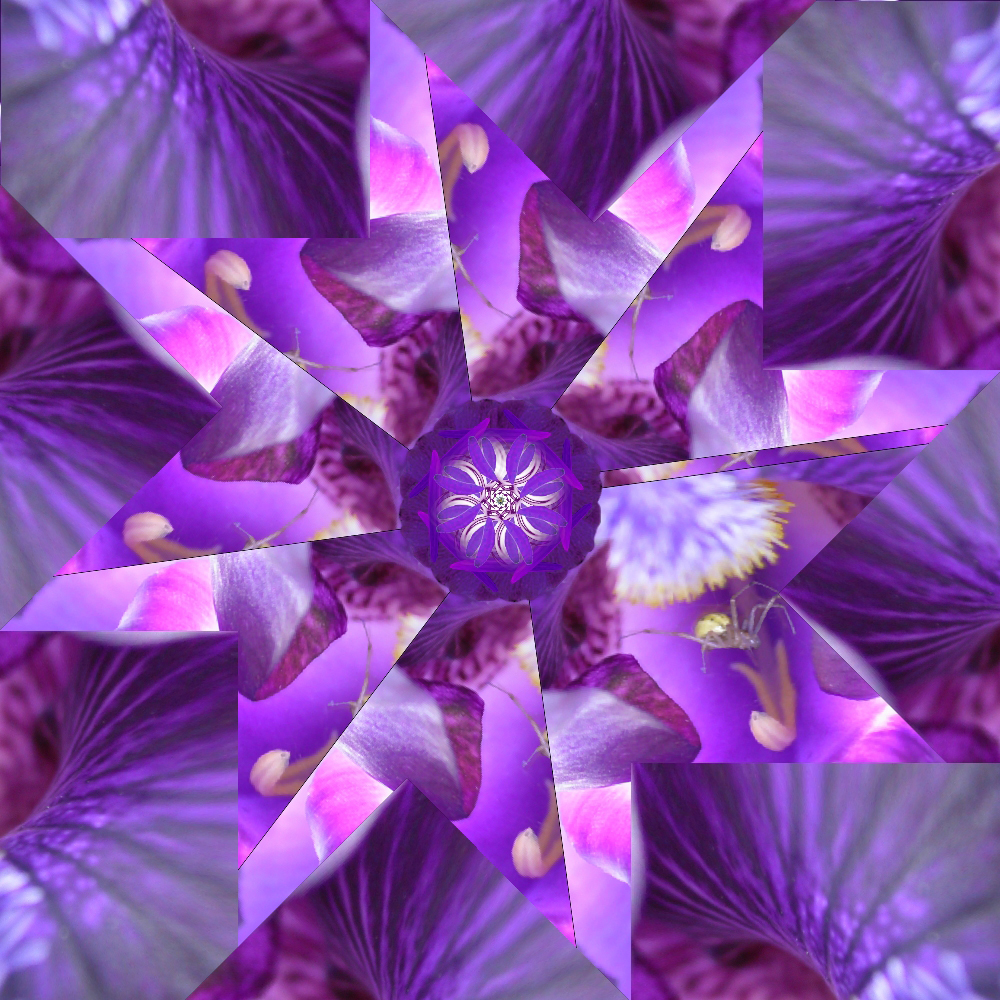
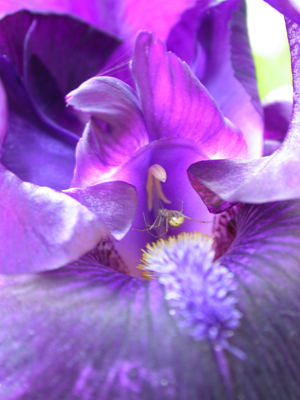
This one started with an hour of chasing a spider around an iris with my camera. I finally concluded that it simply was not possible to get both the spider and the throat of the flower in focus at the same time. But, I was able to get them close enough to paste the in-focus spider into the in-focus flower and get something that looks plausible.
Another limitation of Mandala Painter is that it will not wrap the edge of the bottom image over the top of the first image, creating an "infinite loop" or a perfectly symmetrical mandala. The work around for that is somewhat obvious - if you keep all of your assymetry confined to one half of the image, you can simply copy the other half of the image, flip it both horizontally and vertically, and paste it over the "bad" half. I think in some cases, though, the asymmetry is attractive.
A big section of the Symbols that come with the program are flower petals. This gave me the idea of using some of my own flower images for mandalas. In this case, the poppy in the background is my image, and everything else is a modifcation of stock Symbols.
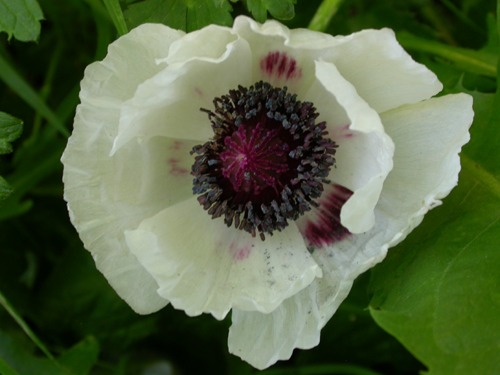

The background of this image is the same poppy image as above, although it's totally buried in this mandala. This program has two layers, the Color layer (bottom) and Contour layer (top). Why it only has two, instead of the "however many you want" that Photoshop has, I'll never know. But, you may copy the contents of either layer and paste it. If you copy the contents of the contour layer, it is copied with a transparent background. So, this image was made by making a simple pattern (stretched petals, re-colored using the "hue and saturation" setting, and passionflowers from the Symbols library) on the Contour layer, copying it, and pasting it. When it is pasted it is replicated in whatever radial symmetry you choose - anywhere from 1 to 50 divisions. In this case I think it was 9 or 11 divisions. I really liked the effect that the purple petals had - how they give the impression of curved lines. This is a trick that I learned to use with more sophistication later on.